

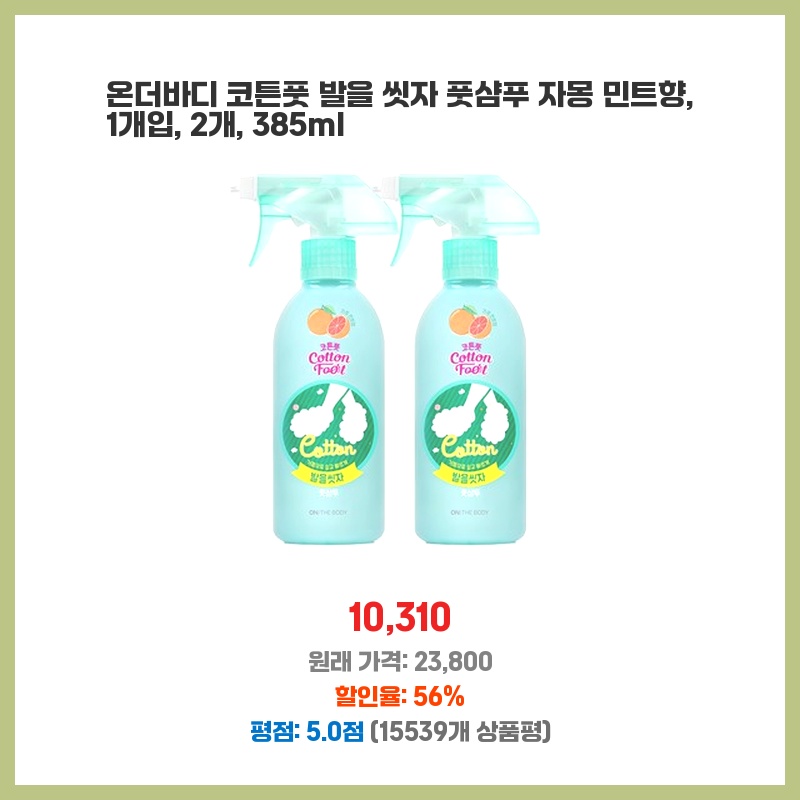
온더바디 코튼풋 발을 씻자 풋샴푸 자몽 민트향, 1개입, 2개, 385ml
📌 상품 1 핵심 포인트
구매 이유
발 냄새를 없애는 데 효과적인 발 샴푸를 찾고 있었는데, 온더바디 코튼풋 발을 씻자 풋샴푸를 발견했습니다. 자몽 민트향이 발에 상쾌함을 주고, 천연 성분으로 피부에 부드럽습니다. 385ml의 대용량으로 오랫동안 사용할 수 있고, 10,310원의 합리적인 가격이 마음에 들었습니다.
알고 구매하면 도움되는 팁
피부 타입과 향기 선호도 확인 사용 후 피부 건조 여부 확인 포장에 손상이나 누출이 없는지 확인 뚜껑이 단단히 닫히는지 확인 유효 기한 확인
구매자 후기
자몽 민트 향기가 상쾌하고 발을 깨끗하고 부드럽게 만들어줍니다. 폼이 풍부하고 잘거품이 나서 발을 편안하게 씻을 수 있습니다.
사용 환경
발 냄새와 세균을 제거하는 데 이상적. 따뜻한 물에 발을 적시고 샴푸를 바르고 마사지한 다음 헹굽니다. 자극을 피하려면 깨진 피부나 상처에는 사용하지 마십시오.

온더바디 발을씻자 풋샴푸 프레쉬 레몬민트향, 1개입, 2개
📌 상품 2 핵심 포인트
구매 이유
발 건강에 신경 쓰는 저에게 온더바디 발을씻자 풋샴푸는 필수품입니다. 상쾌한 레몬민트 향으로 발 냄새를 제거하고, 티트리 오일과 살리실산 성분이 곰팡이와 박테리아를 없애 발 건강을 유지하는 데 도움이 됩니다. 2개입으로 가성비도 좋고, 10,000원이라는 저렴한 가격으로 발 관리를 철저히 할 수 있어 만족합니다.
알고 구매하면 도움되는 팁
발냄새 제거에 도움 되는 레몬민트 향 풋샴푸. 발냄새 예방을 위해 정기적으로 사용하고, 깨끗하고 상쾌한 발을 유지하세요.

구매자 후기
온더바디 발 샴푸는 상쾌한 레몬민트 향으로 피곤한 발을 되살려줍니다. 부드러운 거품이 깊숙이 침투하여 냄새를 제거하고 피부를 부드럽게 만들어 줍니다. 이제부터 발 씻는 시간이 더 즐거워질 것 같아요!
사용 환경
발 냄새와 불쾌감 완화를 위해 따뜻한 물과 함께 사용하세요. 자극이 있을 수 있으므로 눈이나 손상된 피부에 사용하지 마세요.
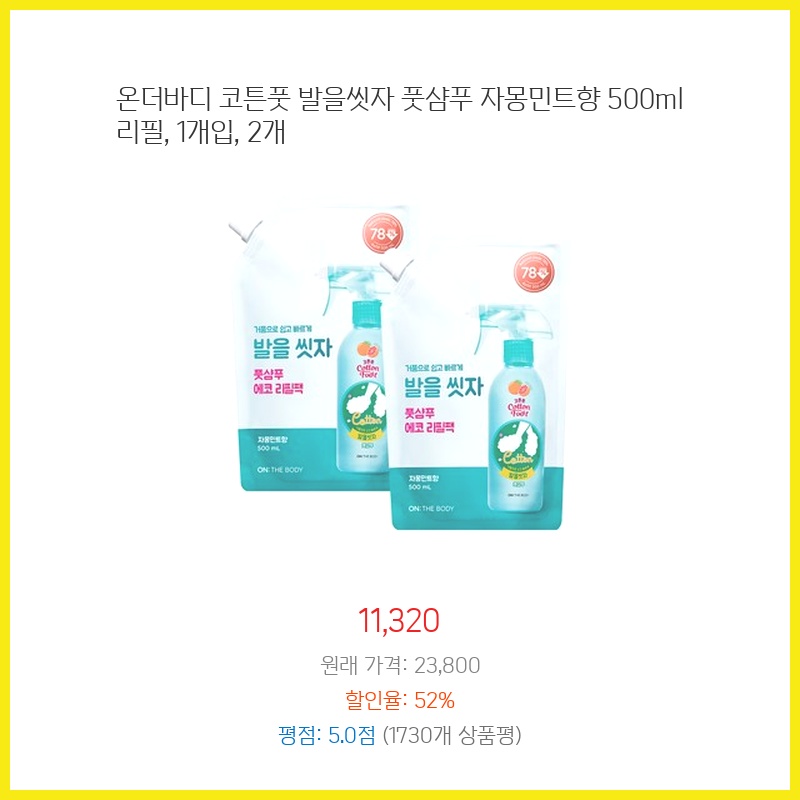
온더바디 코튼풋 발을씻자 풋샴푸 자몽민트향 500ml 리필, 1개입, 2개
📌 상품 3 핵심 포인트
구매 이유
발 건강을 유지하기 위해 온더바디 코튼풋 발을씻자 풋샴푸를 구매했습니다. 자몽민트 향은 상쾌하고 깨끗한 느낌을 주며, 천연 성분이 피부에 부드럽습니다. 500ml 리필 2개로 가성비도 좋고, 대용량으로 오랫동안 사용할 수 있어 편리합니다.
알고 구매하면 도움되는 팁
- 용량 확인 500ml 리필로 충분한지 확인 - 향기 선호도 자몽민트 향이 개인 취향에 맞는지 고려 - 피부 타입 민감성 피부인 경우 저자극성 제품인지 확인 - 가격 비교 다른 리필 제품과 가격 비교 고려 - 사용 편의성 용기가 사용하기 쉬운지 확인

구매자 후기
자몽민트 향이 상쾌하고 발 냄새를 효과적으로 제거해줍니다. 거품이 많이 나서 발을 깨끗하게 씻을 수 있어 만족스럽습니다.
사용 환경
발냄새 제거와 상쾌함 유지에 이상적. 젖은 발에 적용하고 30초 문질러 헹굽니다. 피부 자극을 피하려면 눈에 닿지 않도록 주의하세요.
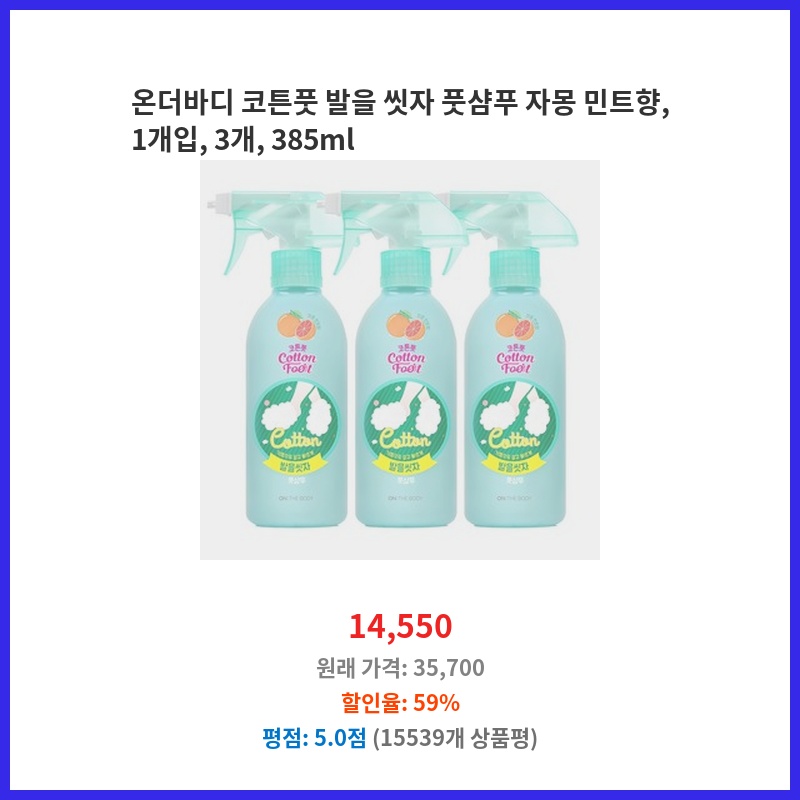
온더바디 코튼풋 발을 씻자 풋샴푸 자몽 민트향, 1개입, 3개, 385ml
📌 상품 4 핵심 포인트
구매 이유
발냄새를 효과적으로 제거하고 싶어 이 발 샴푸를 구매했습니다. 자몽과 민트의 상쾌한 향이 발에 활력을 불어넣고, 항균 성분이 냄새를 유발하는 박테리아를 제거하는 것으로 알려져 있습니다. 또한, 3개가 세트로 제공되어 가성비도 좋습니다.
알고 구매하면 도움되는 팁
피부 타입 확인 민감성 또는 건조한 피부에 적합한지 확인 재료 검토 천연 추출물 및 보습 성분이 포함되어 있는지 확인 용량 고려 발 크기와 샤워 횟수에 맞는 용량 선택 향기 선호도 자몽 민트 향이 개인 취향에 맞는지 확인 가격 비교 다른 브랜드 및 판매처의 가격 비교 고려
구매자 후기
온더바디 발 풋샴푸는 발 피로를 풀어주는 상쾌한 자몽 민트 향이 돋보여요. 폼이 풍부하고 부드러워 발을 깨끗이 씻어주고, 끈적임 없이 상쾌한 느낌을 줍니다.
사용 환경
발 냄새와 피로를 완화하기 위해 따뜻한 물에 희석하여 사용하세요. 피부가 민감한 경우에는 사용 전에 패치 테스트를 하세요. 눈에 들어가지 않도록 주의하세요.
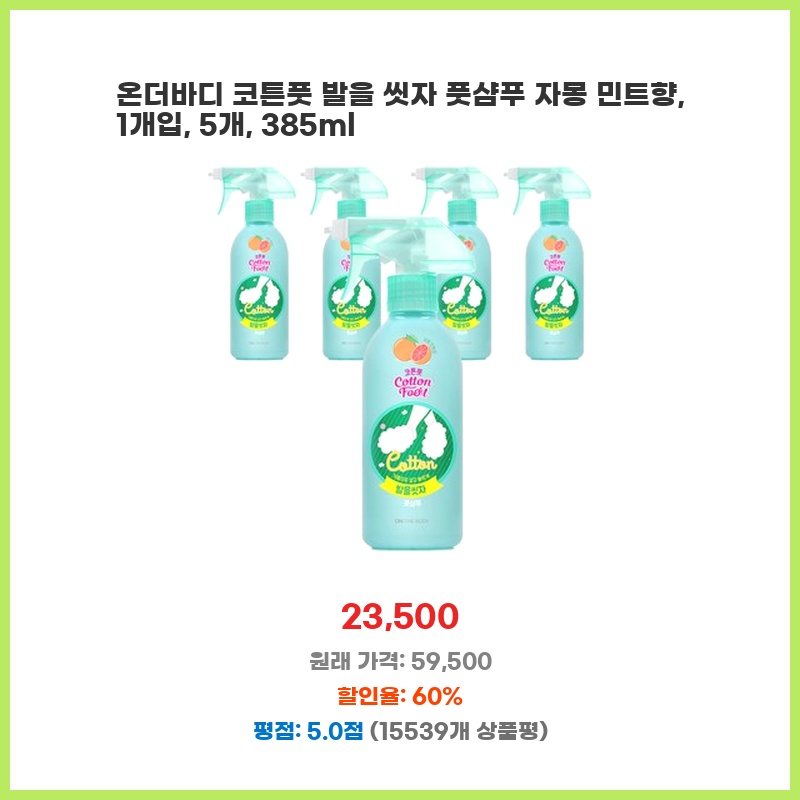
온더바디 코튼풋 발을 씻자 풋샴푸 자몽 민트향, 1개입, 5개, 385ml
📌 상품 5 핵심 포인트
구매 이유
온더바디 코튼풋 발을 씻자 풋샴푸는 그 상쾌한 자몽 민트향과 피로를 풀어주는 성분으로 인해 내 발을 상쾌하고 활기차게 해줍니다. 발을 깊숙이 깨끗이 해주고, 발냄새를 제거하는 데 도움이 되며, 합리적인 가격으로 5개가 들어있어 가성비도 좋습니다.
알고 구매하면 도움되는 팁
발 크기와 피부 타입 확인, 알레르기 유무 검토, 천연 성분과 향료 선호도 고려, 용량과 가격 비교, 리뷰와 평점 참조.


구매자 후기
자몽 민트 향이 상쾌하고 발에 활력을 불어넣어 줍니다. 부드러운 거품이 발 냄새를 없애고 발을 깨끗하고 상쾌하게 만들어 줍니다.
사용 환경
샤워 중 따뜻한 물로 발을 적셔 샴푸를 발림하고 부드럽게 문지릅니다. 피부가 민감한 경우 피부 패치 테스트를 실시하세요. 어린이의 손이 닿지 않는 곳에 보관하세요.
🎁 지금 바로 할인된 가격으로 구매하세요!
위 상품들은 현재 할인된 가격으로 구매 가능한 추천 상품입니다.
상품 이미지를 클릭하시면 자세한 정보를 확인하실 수 있습니다.
온더바디, 발샴푸, 자몽민트, 발씻기, 발냄새제거