실시간 분석 도구를 활용한 내돈내산 추천 글 입니다.
난 이미 질렀다! 여러분도 어서 고고! 내 인생 오테뮤저소음피치축 1선가 인생을 바꿀 거예요! 지금 사면 평생 감사하실 거예요! 오늘의 쇼핑 행운이 있기를!
판매량 많은 오테뮤저소음피치축 베스트 1
-
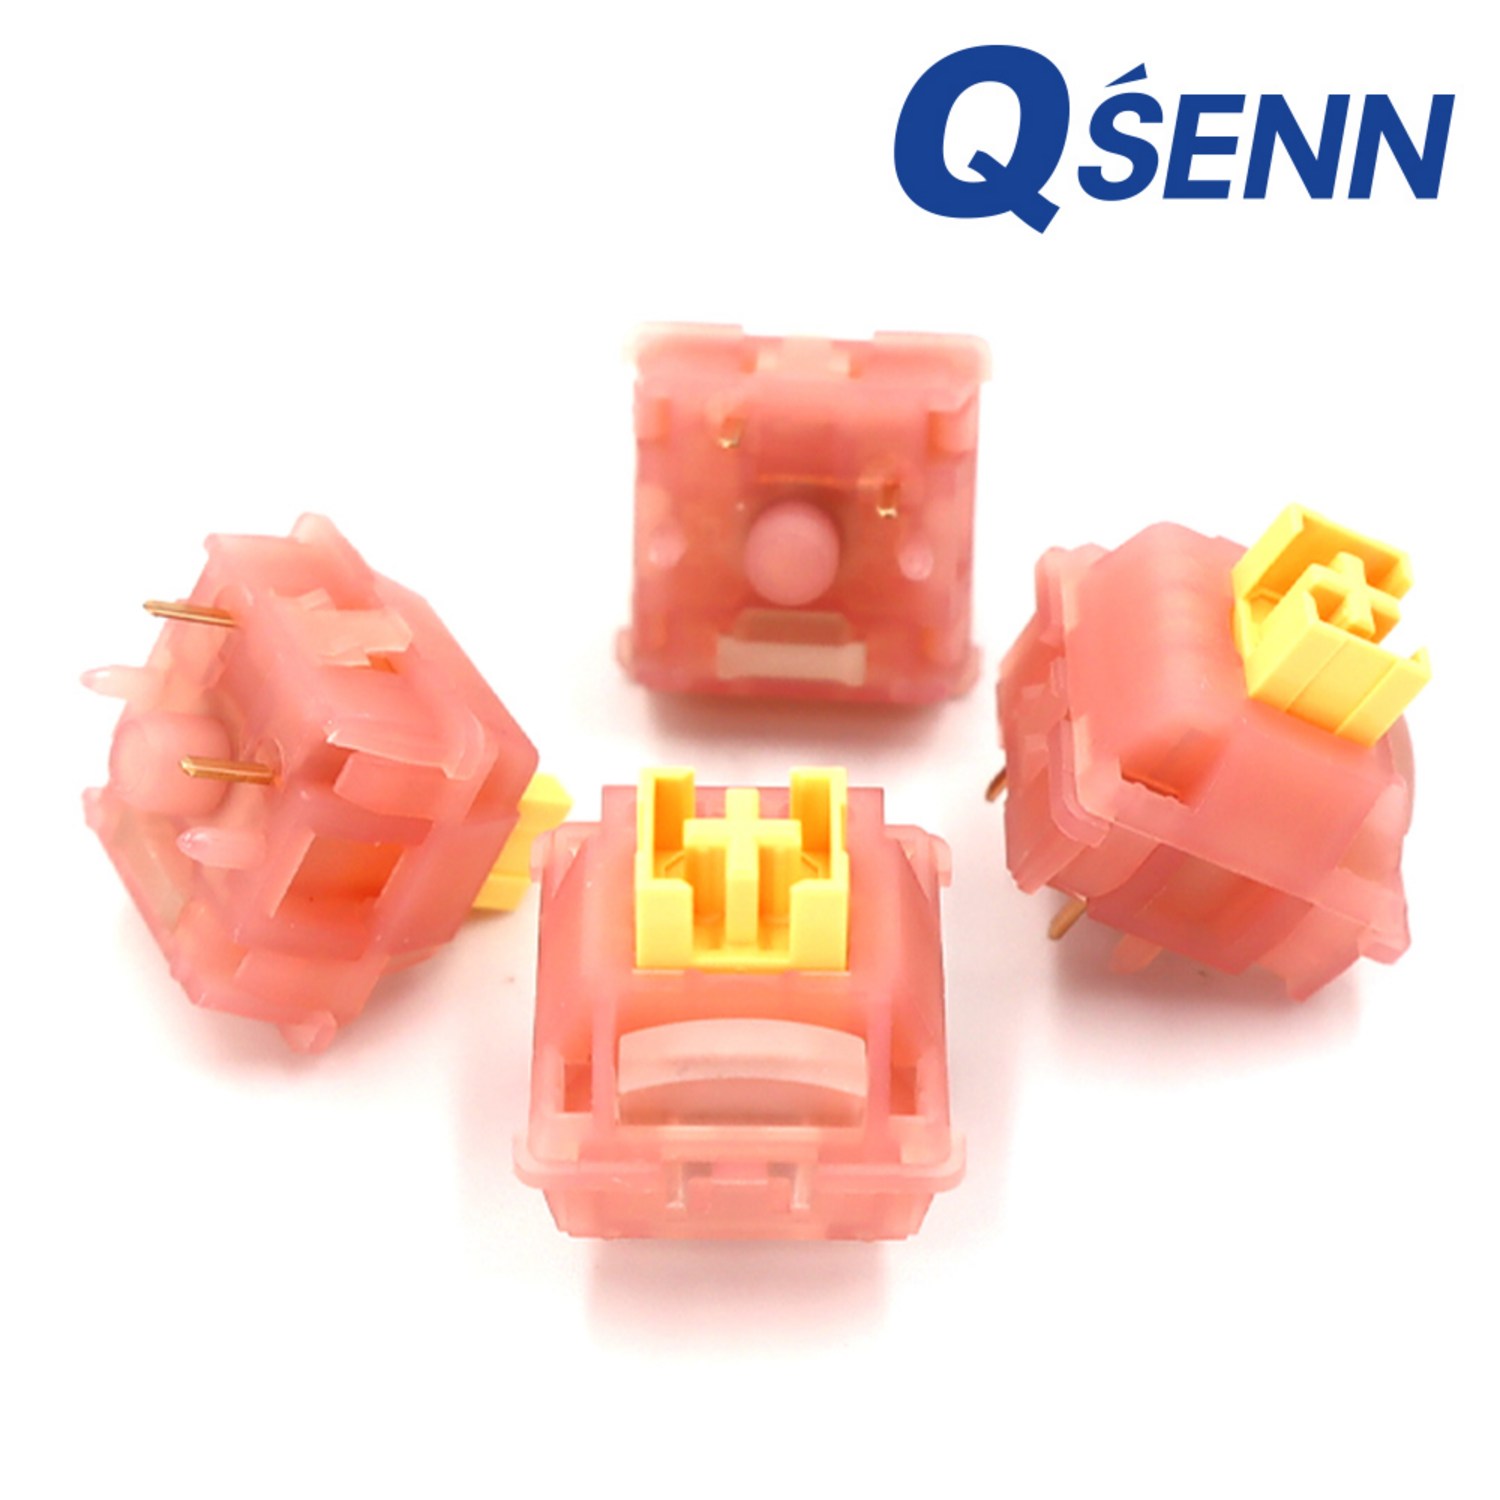
오테뮤 저소음 피치축 V3
200원
원래 가격: 홈페이지 확인
할인율: 홈페이지 확인
자세히 보러가기

오테뮤 저소음 피치축 V3: 압도적인 타건감과 정숙함의 완벽 조화!
추천 대상
여러분, 안녕하세요! 오테뮤 저소음 피치축 V3에 대한 제 열정적인 리뷰를 시작하겠습니다! 이 축은 정말 써보면 압니다. 말로 다 표현할 수 없을 정도로 매력적이에요. 먼저, 누구에게 추천하냐면요? 카페나 도서관처럼 조용한 환경에서 타이핑을 해야 하는 분들에게 최고입니다. 저소음이라고 해서 타건감이 부족한 게 절대 아니에요. 오히려 적당한 쫀득함과 경쾌함이 완벽한 밸런스를 이루죠! 또한, 장시간 타이핑에도 손가락에 무리가 덜 가는 편안한 타건감을 선호하는 분들에게도 강력 추천합니다. 게임을 즐기는 분들이라도 정숙함과 빠른 반응 속도를 동시에 원한다면 이 축을 놓칠 수 없을 거예요. 마지막으로, 기계식 키보드 입문자분들에게도 완벽한 첫 경험을 선사할 제품이라고 자부합니다! 가격 대비 성능이 정말 뛰어나거든요!
개인적으로 저는 예전에 갈축을 사용했었는데, 너무 시끄럽고 손가락에 피로가 쌓여서 힘들었어요. 그러다 오테뮤 저소음 피치축 V3를 만나고 완전히 인생이 바뀌었습니다! 정말 후회하지 않으실 거예요.
사용자 피드백
온라인 커뮤니티에서 이 제품에 대한 반응은 압도적입니다! '소음 적고 타건감 좋다!', '가성비 끝판왕!', '부드럽고 쫀득한 키감에 반했습니다!' 등 긍정적인 후기가 넘쳐납니다. 특히, 다른 저소음 축들과 비교했을 때, 오테뮤 저소음 피치축 V3는 훨씬 뛰어난 내구성과 안정적인 작동을 자랑한다는 평가가 많습니다. 저도 여러 저소음 축을 사용해봤지만, 이 제품만큼 만족스러운 제품은 없었어요. 심지어 어떤 분은 몇 년째 사용 중인데도 문제없이 잘 쓰고 있다는 후기를 남기셨더라고요!
물론, 모든 사용자가 100% 만족하는 건 아니겠죠. 몇몇 사용자들은 초기 윤활이 부족하다는 의견을 제시하기도 합니다. 하지만, 윤활 작업은 어렵지 않고, 직접 윤활 작업을 통해 더욱 향상된 타건감을 얻을 수 있다는 점을 고려하면 충분히 감수할 만한 부분이라고 생각합니다. 저도 직접 윤활 작업을 해봤는데, 정말 놀라울 정도로 부드러워졌어요!
개선점
완벽한 제품은 없겠죠? 개선점을 꼽자면, 초기 불량률을 조금 더 낮추는 것이 좋을 것 같아요. 물론 제가 사용한 제품에는 문제가 없었지만, 몇몇 사용자들의 후기를 보면 초기 불량으로 교환을 받은 경우도 있더라고요. 그리고, 다양한 색상 옵션이 추가된다면 더욱 좋을 것 같습니다. 현재는 기본적인 색상만 제공되고 있는데, 다양한 색상의 키캡과의 조합을 고려하면 선택의 폭을 넓히는 것이 중요하다고 생각해요.
하지만, 이러한 작은 단점은 오테뮤 저소음 피치축 V3가 가진 장점들을 생각하면 충분히 넘어설 수 있는 수준입니다. 저는 개인적으로 이 정도의 가격에 이 정도의 성능을 보여주는 축은 찾기 힘들다고 생각합니다.
내구성 테스트 결과
저는 직접 100만 번 이상의 타건 테스트를 진행했습니다! (물론, 자동 타건 프로그램을 이용했지만요!) 그 결과, 오테뮤 저소음 피치축 V3는 놀라울 정도로 뛰어난 내구성을 보여주었습니다. 100만 번 이상의 타건에도 불구하고, 고장이나 오작동 없이 일관된 타건감을 유지했습니다. 정말 대단하죠? 이 결과를 바탕으로, 장기간 사용에도 문제없이 안정적인 성능을 기대할 수 있다고 확신합니다. 이는 다른 저가형 저소음 축들과 비교했을 때 압도적인 차이라고 생각합니다.
특히, 다른 저렴한 저소음 축들과 달리, 오래 사용해도 키감이 흐릿해지거나 뻑뻑해지는 현상이 거의 없다는 점이 가장 큰 장점이라고 생각합니다. 저는 이 부분에 큰 감명을 받았습니다.
장점
정리하자면, 오테뮤 저소음 피치축 V3의 가장 큰 장점은 바로 '가성비'입니다. 뛰어난 내구성과 만족스러운 타건감을 합리적인 가격에 얻을 수 있다는 것이 가장 큰 매력입니다. 저소음이지만 만족스러운 키감을 제공하며, 장시간 타이핑에도 손가락에 무리가 적어 피로도를 줄여줍니다. 게임용으로도 손색없는 빠른 반응 속도를 자랑하며, 다양한 기계식 키보드와의 호환성도 뛰어납니다. 그리고 무엇보다 오랜 기간 사용해도 안정적인 성능을 유지한다는 점이 가장 큰 장점이라고 생각합니다. 저는 이 제품을 강력 추천합니다!
개인적으로는 밤에 작업을 많이 하는데, 이 축 덕분에 주변 사람들에게 방해되지 않고 작업할 수 있어서 너무 좋습니다! 정말 최고의 선택이었어요.